
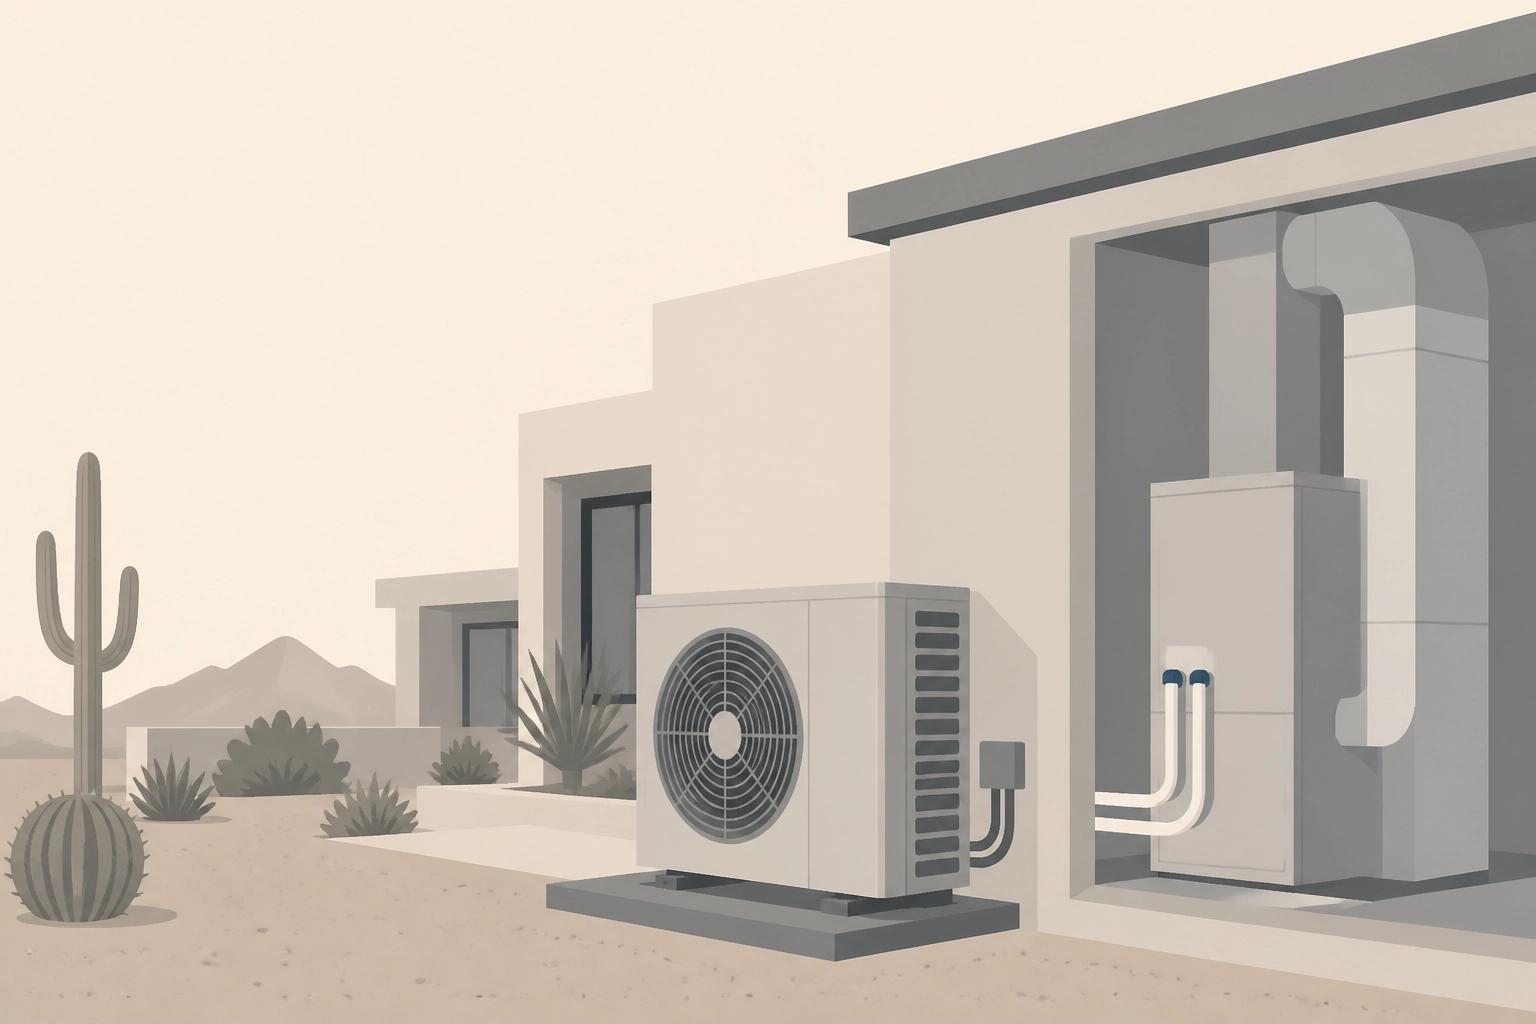
In Phoenix, a heat pump is not an AC that runs backwards. The moment temperatures dip toward 38°F, the system stops being a cooling appliance with a reversing valve and becomes a heating design problem. The decisions that matter, equipment type, capacity, backup heat staging, electrical capacity, and duct airflow, are made before install day. Get them wrong, and you inherit cycling, cold spots, high electric resistance bills, or a system that cannot keep up when you need it most.
This guide is for homeowners and facility teams who want an install executed beyond a simple AC swap. We will explain why a Phoenix heat pump is not an AC running backwards, why the envelope comes before sizing, how to replace rules of thumb with a real load calculation, how to match tons to the load rather than the old AC, when standard versus cold-climate equipment makes sense, how to stage backup heat for a 38 degree night, and how to verify panel, circuit, and duct capacity. We will also cover common mistakes that surface after install day, how to vet a Phoenix heat pump installer's process, and the decisions that must happen first.
Why a Phoenix Heat Pump Is Not an AC Running Backwards
An air conditioner has one job: capture heat indoors and reject it outside. A heat pump does that and reverses the flow, absorbing heat from outdoor air and moving it inside with a reversing valve. That mechanical difference changes the site visit, because a cooling-only replacement never has to answer how the system heats. If you are weighing the two categories, this heat pump versus air conditioner breakdown is the place to start.
Heating capacity falls as outdoor air gets colder. Equipment sized to cool a 110°F July afternoon is not automatically sized to heat a 38°F January morning; rated output drops while the load rises. Phoenix winters are mild overall, but cold mornings still create a real heating load. The equipment decision should follow the calculated heating load at approved outdoor design temperatures, not a copied cooling tonnage.
The swap mindset causes most of the trouble. Replacing like for like in tons skips the load calculation, duct airflow review, panel capacity check, and backup heat staging that a conversion actually requires. For reference, 1 ton equals 12,000 BTU, so quoted numbers can be checked against calculated loads instead of taken on faith.
The rest of this guide follows the order that prevents surprises: envelope first, real load calculation, right sizing, equipment class, backup heat staging, electrical capacity, duct airflow, then installer vetting.
Prerequisite: Fix the Envelope Before You Size Equipment
Do not let anyone size equipment against a leaky shell. Sizing and design guidance for heat pump installers is explicit: air-sealing and added attic insulation should be addressed before new equipment goes in, because that work can significantly reduce design heating and cooling loads and often allows a smaller heat pump with a simpler distribution system. The same guidance notes air leakage can account for 25 to 40 percent of the energy used for heating and cooling in a typical home.
The order of operations matters for your wallet. A leaky shell and leaky ducts inflate the calculated load, so you end up buying capacity that is compensating for a fixable problem. You pay for that capacity at purchase and again every month it runs. Seal first, size second.
Practical pre-install checks for a Phoenix home:
Attic insulation depth and condition, including whether it is compressed, displaced, or missing over conditioned space
Sealing at doors, windows, and other obvious infiltration points
Duct leakage, especially on runs traveling through an unconditioned attic
When existing ducts are reused, duct losses belong in the load calculation alongside enclosure surfaces, air leakage, and solar and internal gains. Skipping duct losses misstates the load twice: the calculation is wrong on paper, and the undersized or unbalanced duct system behind it may not deliver the airflow the new heat pump needs.
Ask for envelope findings in writing before you sign any equipment proposal. Confirm whether sealing or insulation work is being recommended before sizing, and what load reduction it is expected to produce. The load calculation should then start from the home you actually have, not the one you wish you had.
Step 1: Replace Rules of Thumb With a Real Load Calculation

Envelope improvements may reduce the load, but they do not tell you what the load is. That number comes from a calculation, not a shortcut.
Why Square Footage Shortcuts Fail
The common square footage divided by 500 method for estimating tons is widely cited but unreliable. The errors are not small. In one illustrative dataset comparing a 30 BTU per square foot rule against Manual J heating loads, units were oversized by tens of thousands of BTU on smaller homes, and none of those homeowners would have received the correct size. Estimates based on similar rough rules can miss in both directions, sometimes by more than one ton. Treat any single dataset as illustrative rather than a universal prediction, but the pattern holds: a rough estimate misses in both directions.
The Method That Holds Up
ACCA Manual J (current edition), or an equivalent procedure, is the accepted method for calculating the load. Manual J software is only a calculator, so its output depends entirely on the inputs -- a point trade-press coverage of the standard makes repeatedly.
Two inputs decide whether the result is usable:
Approved outdoor design temperatures for the location. A Phoenix address needs design temperatures from an authoritative local source, not a software default borrowed from another climate.
No padding. Adding extra safety factors to the estimate is what turns a right-sized system into an oversized one, and it hides the real reason a home feels uncomfortable.
If you want how large your home is as a starting reference, use it for context only, never as the sizing basis.
The Question to Ask
Before you sign anything, ask: what are the calculated heating and cooling loads in BTU, and which design temperatures were used? A contractor who ran the calculation can answer in one sentence. A contractor who guessed cannot. With those numbers in hand, equipment selection finally has a target to hit.
Step 2: Match Tons to the Load, Not to the Old AC
Once the load calculation produces heating and cooling numbers in BTU, the equipment has to match those numbers, not the tonnage printed on the old condenser.
Oversizing looks safe. It is not. An oversized heat pump kicks on and off frequently, which creates hot and cold spots, wears the compressor and blower faster, and in humid conditions leaves indoor moisture higher because short runtimes never let the coil dehumidify. Undersizing fails at the other end: on the coldest mornings the system cannot keep up, and electric resistance backup heat carries the load. It keeps the house warm, but resistance heat costs far more per hour to run than the heat pump.
Phoenix asks one system to handle two profiles. Summer is dominated by a large sensible cooling load. Winter heating load is smaller but real, especially on cold mornings. The selected unit must satisfy both, which is why copying a cooling tonnage is not sizing.
Variable speed helps. Because it modulates output instead of cycling at full blast, it can match a load that swings from July to January. Ask to see the selected unit's capacity tables at both summer and winter design temperatures, and verify the published numbers support the calculated loads.
Your verification step: ask how the selected unit's heating and cooling capacity at design temperature, taken from manufacturer capacity tables, lines up with the calculated loads. Nominal tonnage being close is not the same answer. These capacity decisions also shape the factors that determine your final installation price.
Step 3: Decide Between Standard and Cold-Climate Equipment
The cold-climate label has a definition, and it is narrower than most homeowners assume. The NEEP Cold Climate ASHP Specification defines the cold-climate category as equipment suited for IECC climate zone 4 and higher -- a threshold Phoenix sits outside. That places standard equipment as the baseline to evaluate first.
That said, the choice should follow the load calculation and capacity data at your design conditions, not a blanket assumption in either direction.
Cold-climate is also a specification category, not a brand. It describes measurable performance at low outdoor temperatures, including rated capacity retention and coefficient of performance, plus variable-capacity compressors, rather than marketing language on a spec sheet. Low-temperature capacity figures are frequently manufacturer-reported, so ask to see the spec sheet values.
Weigh four tradeoffs:
Low-ambient capacity: how much heating output the unit holds at cold outdoor temperatures.
Purchase cost: cold-climate models typically cost more than standard units.
System complexity: additional controls, staging behavior, and service considerations.
Payback: whether that low-temperature performance earns its premium in a mild desert winter.
Be equally suspicious of blanket answers. A contractor who says cold-climate equipment is never needed here should still be able to show the load calculation and the standard unit's rated capacity at Phoenix's design temperature. For how the same equipment behaves in July, see Do Heat Pumps Actually Perform in Phoenix's Extreme Heat?.
Step 4: Stage Backup Heat for a 38 Degree Night
Your equipment class is chosen. Now the decision shifts to how the system behaves on the handful of genuinely cold mornings Phoenix delivers.
Why backup heat exists. A heat pump's heating output falls as outdoor air cools. Supplemental heat covers that gap, and it also carries the load while the system is in defrost, when the outdoor coil temporarily reverses to melt frost and stops heating the house.
The cost tradeoff. Electric resistance backup is inexpensive to install and expensive to run, because it makes heat from electricity rather than moving existing heat. For a cost-conscious homeowner, staging is the single biggest operating cost lever in the system.
Two control approaches.
Outdoor lockout: resistance strips are locked out above a set outdoor temperature, leaving the heat pump to carry the load alone.
Unrestricted operation: strips are allowed to energize whenever the thermostat calls for heat.
Defrost is why this matters beyond temperature alone. Resistance heat often energizes during defrost cycles, so the settings shape winter bills even on nights that are not especially cold. Picture a hypothetical 38°F morning: unrestricted staging may run strips for minutes per defrost, while a lockout setting may keep them off entirely.
What to ask. Get three answers in writing before signing:
How is backup heat staged in this proposal?
At what outdoor temperature does it engage?
Can that setting be adjusted later, and by whom?
If you are still weighing equipment classes, our overview of heat pumps as a year-round efficiency option for Phoenix is a useful companion read. With staging settled, the next question is whether your electrical service can carry it.
Step 5: Verify Panel and Circuit Capacity Before Install Day
Backup heat staging decides how often resistance strips run, but the panel decides whether they can run at all. That is the electrical question an AC swap never asks.
In heating mode, a heat pump can draw the compressor and the electric backup strips at the same time. The old cooling-only circuit never carried that combined load, so the existing breaker size proves nothing on its own.
What the Panel Review Covers
Four checks come first:
Available service amperage and overall service size (100A, 200A, and so on)
Open breaker spaces for the new circuit
Whether the existing circuit matches the new unit's nameplate minimum circuit ampacity (MCA)
The disconnect and overcurrent protection the installation will require
Breaker and conductor sizing follows the manufacturer's nameplate data and local code, not the amperage of the breaker that fed the old air conditioner. A 40-amp breaker sized for a 3-ton AC tells you nothing about what a heat pump with strip heat will demand.
Outdoor disconnects and GFCI requirements apply to outdoor HVAC equipment. Confirm the specifics with local code and the authority having jurisdiction; ACCA maintains an outdoor HVAC GFCI requirements resource worth referencing.
When Capacity Is Tight
If the panel cannot carry the combined load, two paths remain: a load management device that sheds the strips during peak demand, or a service upgrade. Both must be identified and priced before install day, not discovered mid-job with the crew already on site.
Get It in Writing
Ask for the electrical scope in writing: panel evaluation results, disconnect type, breaker size, and conductor gauge. With the electrical side settled, the next question is whether the ducts can move the air the new equipment requires.
Step 6: Confirm the Ducts Can Carry the Airflow
With the electrical scope settled, the final pre-install check is airflow. Heat pumps frequently move more air than the air conditioner they replace, so undersized ducts raise static pressure, cut delivered airflow, and degrade heating and cooling alike.
What to Inspect
Confirm return air sizing, supply register count and location, flex duct runs for kinks or crushing, and filter and grille restriction. Then measure static pressure on the existing system. Manual D targets give you benchmarks to compare against: total external static pressure at or below 0.8 inches of water column, friction rate between 0.06 and 0.18, and total effective length at or below 550 ft.
Duct Losses Feed the Load Calculation
Duct losses on reused runs belong in the load calculation -- skipping them understates the load the equipment must cover. That matters in Phoenix, where long attic runs lose both heat and pressure before air ever reaches a room.
How Shortfalls Surface
Higher bills, short cycling, noisy registers, and rooms that never reach the thermostat setpoint usually trace back to airflow, not equipment. These symptoms often get blamed on the equipment itself, but a visual inspection alone cannot confirm whether a duct system was ever sized for the new unit's airflow.
Sequence Before Install Day
Duct sealing, resizing, or redesign changes the required equipment size. Settle it before install day, not after the equipment is already on the truck. Even with every check completed, a few mistakes still slip through; the next section covers the ones that surface after install day.
Common Mistakes That Surface After Install Day
A duct system that already passed its airflow check is not proof the rest of the install was planned correctly. These six missteps are the ones homeowners most often discover only after the equipment is running.
Copying the old air conditioner's tonnage. Copying the old air conditioner's tonnage skips the load calculation -- the one mistake Step 1 covers in detail.
Padding the calculation with safety factors. Adding cushion instead of sealing air leaks and improving insulation inflates the load, as the Manual J standard and load-calculation best practice make clear. The padding buys capacity that compensates for a fixable problem.
Skipping the panel and breaker review. Backup resistance strips and the compressor may need to run together in heating mode, a demand the old cooling-only circuit never carried. Finding that out on install day forces rushed decisions or a change order.
Reusing ducts without a static pressure check. If airflow limits and duct losses never made it into the load calculation, the system delivers less air than it was sized for, and comfort drops in both summer and winter.
Leaving resistance strips on default control. Leaving resistance strips on default control lets them run whenever the thermostat calls -- the staging question Step 4 covers.
Buying on price alone. Purchase price says nothing about capacity at Phoenix design temperature or how heavily the unit will lean on backup heat. A cheaper system that runs strips more can cost more to own.
None of these problems appears on a spec sheet. They surface during the first cold morning and in the first winter bill. Expect your proposal to address each item in writing, and use the vetting questions that follow to confirm it does.
How to Vet a Phoenix Heat Pump Installer's Process
Instead of comparing tonnage, compare process. Use these questions as a checklist against any Phoenix installer's written proposal.
The load calculation itself. Ask for the calculation document, not a summary of it. ACCA Manual J, current edition, or an equivalent procedure is the accepted method, and it must show the approved outdoor design temperatures used for your specific address rather than a regional default.
Loads versus capacity. Request the calculated heating and cooling loads in BTU alongside the selected unit's rated capacity at those same design temperatures. A nominal tonnage match does not prove the equipment covers the load at design conditions.
Backup heat staging. Ask how auxiliary resistance heat is staged, at what outdoor temperature it engages, and whether that setpoint can be adjusted after commissioning. This is the single biggest operating-cost lever in a Phoenix conversion.
Electrical scope. Ask for the panel evaluation results, the new circuit's ampacity, and the breaker and disconnect sizing. Confirm in writing whether a service upgrade or a load management device is required, so it is identified and priced before install day rather than during the job.
Duct evaluation. Ask how airflow and duct losses were evaluated with the existing ducts reused, including measured static pressure on your current system. You want a number, not a visual inspection.
Gray Goat Air is a Phoenix-area heating and air conditioning contractor that sells heat pumps and mini-splits and also maintains, services, and repairs systems. Get answers to all five questions in writing before you sign.
Conclusion: The Decisions That Have to Happen First
Those five questions give you a way to read a proposal, not just a price. But the answers themselves have to land before install day, because each one can move the equipment or the scope of work.
Start with the envelope. Insulation, air leaks, and duct leaks inflate the calculated load, so sealing and insulating first can reduce the size of the heat pump a Phoenix home actually needs. Fixing the shell is cheaper than buying capacity to compensate for it.
Insist on a Manual J load calculation run with approved outdoor design temperatures -- no padding, no regional defaults.
From that load, confirm heating and cooling capacity at design temperature. A unit that cools a July afternoon is not automatically the one that heats a January morning. The standard versus cold-climate choice should follow capacity data at your design conditions, not a blanket statement like "cold-climate equipment is never needed here."
Finally, settle backup heat staging, panel and circuit capacity, and duct airflow before anyone orders equipment. Resistance strips that run by default, a panel that cannot carry strips and compressor together, or ducts that cannot move the required air will each change the job.
Ask for all five items in writing: envelope findings, load calculation, capacity match, backup heat staging temperature, and electrical and duct scope. Then compare proposals on process. Tonnage alone tells you what is being installed, not whether it was sized, powered, and ducted for your home.
Handled in this order, the conversion heats a mild desert winter without leaning on expensive resistance heat.