
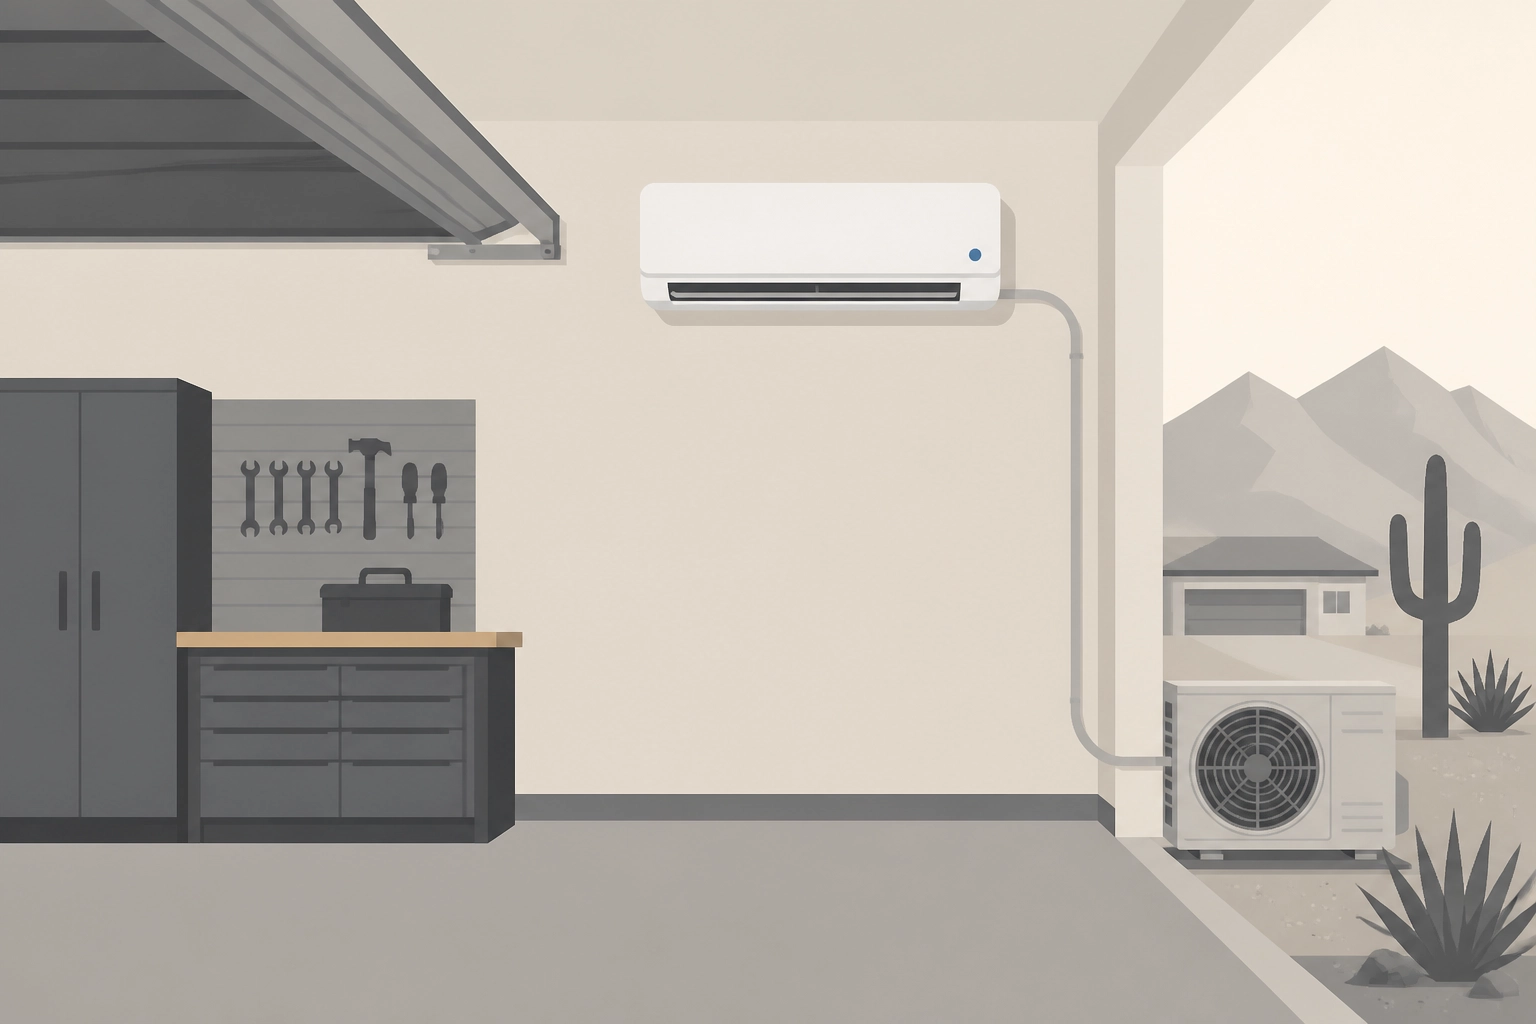
Step into your Phoenix garage in July and you will understand the problem immediately. The temperature can climb past 150 degrees Fahrenheit, turning your workspace into an oven that no fan can fix and no human can reasonably endure. If you have been searching for a real solution, installing a mini split in a garage is almost certainly the answer, but the process is more involved than most homeowners expect.
This guide gives you a complete, honest picture of what it actually takes. You will learn why Phoenix garages are uniquely brutal to cool, how a ductless mini split works, and how to size one correctly for your specific space. You will also get a straightforward 2026 cost breakdown for the Phoenix market, a plain-language explanation of the electrical requirements that often catch homeowners off guard, and a clear look at permits, placement, and maintenance. By the time you finish reading, you will know exactly what to expect before you ever pick up the phone to call a contractor.
Why a Phoenix Garage Is One of the Hardest Spaces to Cool
Phoenix garages are not simply hot. They are hostile environments that combine multiple heat sources in a way that most rooms never experience.
As noted above, a closed Phoenix garage can reach 150°F or above at peak. The metal roll-up door absorbs solar radiation and radiates that heat inward. The concrete slab stores heat throughout the day and releases it overnight. The roof, often uninsulated, adds a third surface baking from above. Unlike how HVAC works differently in Phoenix than the rest of the country, a garage compounds heat gain from every direction simultaneously.
The problem goes beyond radiant surfaces. A parked vehicle still warm from a commute adds engine heat. Power tools generate heat during use. Stored chemicals and solvents must stay within safe temperature ranges or they become a hazard. Ventilation in a typical attached garage is minimal to nonexistent. Every one of these factors stacks on top of the others.
Standard fans move air; they do not cool it. A ceiling fan or box fan in a superheated garage circulates dangerously hot air. It may increase comfort at 85°F but provides no meaningful relief when ambient temperatures approach the triple digits inside a sealed space during a Phoenix July afternoon.
Portable AC units and window units face three specific barriers in a garage: most portable units fall well short of what a Phoenix garage demands at peak summer; exhaust hoses require a sealed duct to the outside that most garages cannot easily provide; and cutting openings into garage walls or doors for window units creates security vulnerabilities.
A single-zone ductless mini split bypasses every one of these limitations. It is engineered for high-load, single-room cooling, requires no existing ductwork, and can sustain a target temperature even when outdoor conditions push well past 100°F.
What a Ductless Mini Split Actually Is (and Why It Works for Garages)
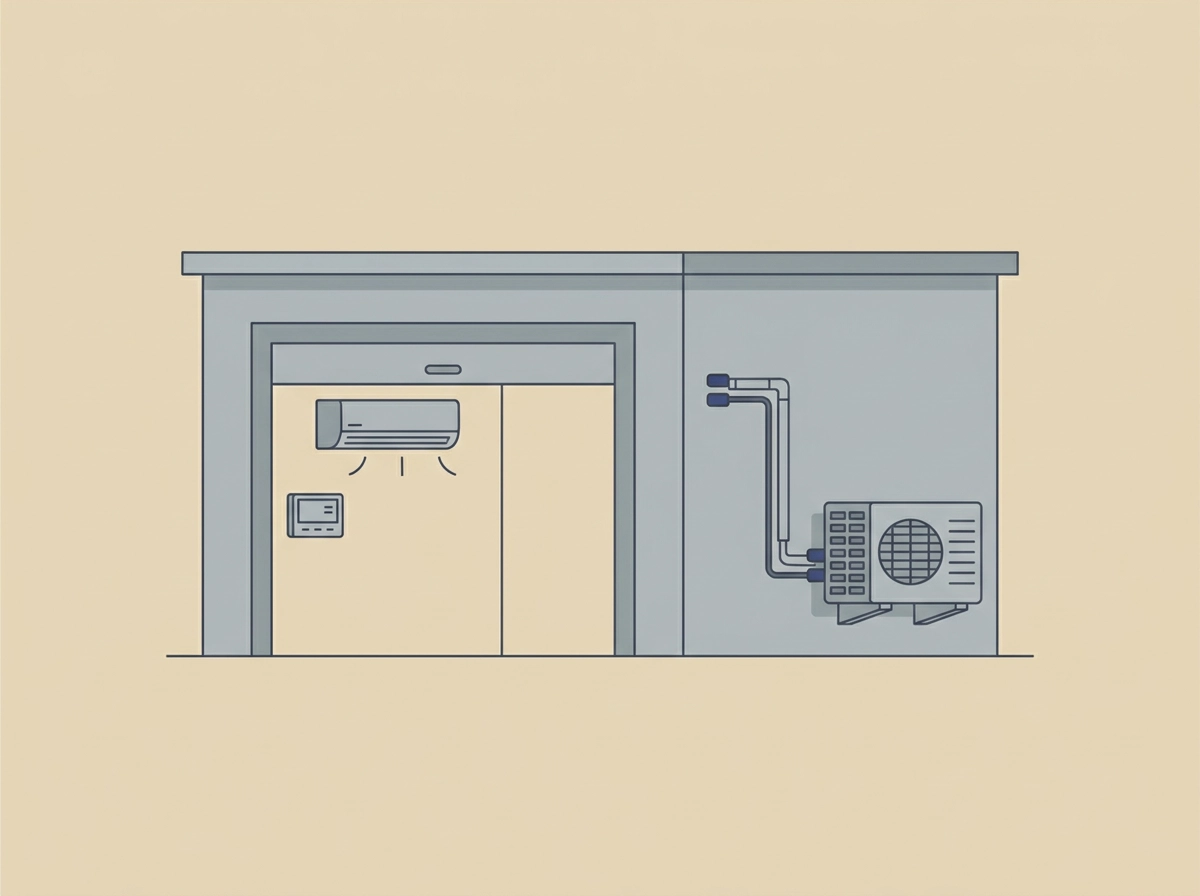
A ductless mini split is built around two components that work together: an indoor air-handling unit (called the head) mounted high on the garage wall, and an outdoor condenser unit connected to it by a refrigerant line set. That line set, which carries refrigerant between the two units, passes through a small hole in the wall, roughly three inches in diameter. That is the only penetration required.
The critical advantage for garages is what is not needed: ductwork. Central AC depends on a network of ducts to distribute conditioned air, and most garages were never connected to that system. A mini split bypasses that problem entirely. There is no duct to run, no existing system to modify. The garage stands alone, and so does its cooling. For more background on how these systems work as heating and cooling solutions, Mini-Split Heat Pumps: A Ductless Option Worth Knowing About covers the fundamentals.
A single-zone system is designed to condition one defined space, which is exactly what a garage is. That focus makes it more cost-efficient than pulling a zone off a whole-home multi-zone setup, where equipment costs and complexity scale up considerably.
Modern mini splits also carry strong efficiency credentials. Current ductless equipment commonly achieves high SEER2 ratings, and most models function as heat pumps, meaning they provide warmth during Phoenix winters as well. That year-round utility improves the return on the upfront investment.
The technology driving that efficiency is the inverter-driven compressor. Rather than switching fully on and fully off like older systems, an inverter compressor ramps up or down continuously to match the actual cooling load at any given moment. Less cycling means less wear on components and lower energy consumption over the life of the equipment.
How to Size a Mini Split for a Phoenix Garage (Square Footage Is Not Enough)
Choosing the right size unit is where many Phoenix garage cooling projects go wrong before they start.
Online BTU calculators are built around conditioned living spaces: insulated walls, moderate window area, controlled indoor temperatures. A Phoenix garage is none of those things. Using a standard chart for a garage install will typically significantly undersize the unit, leaving you with a system that runs constantly and never catches up on a sweltering July afternoon.
The reason is radiant heat gain. A metal roll-up door absorbs solar energy all day and radiates it directly into the space. An uninsulated concrete slab stores heat and releases it for hours after sunset. Walls with no insulation conduct outdoor heat almost without resistance. Square footage captures none of this.
A realistic Phoenix example: a 500-square-foot garage might show up as a 12,000 BTU job on a generic sizing chart. In Phoenix, that same garage may realistically need an 18,000 to 24,000 BTU unit (1.5 to 2 tons), depending on insulation, door orientation, and how the space is used -- confirm the right range with your contractor based on an actual load calculation. Insulation changes the math significantly. The same 500-square-foot footprint with insulated walls, an insulated door, and a radiant barrier in the attic may land at the lower end of that range. A bare-stud garage with a west-facing metal door will sit at the top or above it.
Workshop use adds another variable. Welders, air compressors, 3D printers, and similar equipment generate sustained heat loads that must be included in any honest sizing conversation.
A qualified HVAC contractor will run a Manual J load calculation rather than quoting off a square footage table. This industry-standard methodology accounts for your specific walls, roof, door type, orientation, and internal heat sources. If a contractor skips this step and quotes based on square footage alone, that is a red flag worth taking seriously.
For a deeper look at how mini splits serve high-heat spaces like garages, the guide on Mini-Splits for Targeted Efficiency: Garages, Additions, and Sunrooms covers the broader efficiency case in detail.
What a Mini Split Installation Costs in Phoenix: An Honest 2026 Breakdown
Once you know what size unit your garage actually needs, the next question is what it will cost to put one in. Here is how the numbers break down for a typical Phoenix garage project in 2026.
Equipment for an 18,000 to 24,000 BTU single-zone mini split varies widely by brand tier, SEER2 rating, and included features. Entry and mid-tier units can start below $1,000 for equipment alone; premium units with longer warranties and higher efficiency ratings run considerably more. Get itemized quotes so you can see exactly what you are paying for.
Labor for a straightforward ductless mini split installation in the Phoenix metro area typically runs $800 to $1,500 for a single-zone garage job. Complexity pushes that number up; a clean, accessible wall with a short line set run keeps it lower.
Permits through the City of Phoenix or surrounding municipalities (Scottsdale, Mesa, Chandler, Gilbert) add $150 to $400. This is not optional, and a later section covers why skipping it creates real problems.
Electrical work is where budgets most often get surprised. Most Phoenix garages do not have a dedicated 240V circuit, which every mini split requires. Adding a circuit typically involves costs that vary with distance from the panel and site access -- get this scoped in writing before work begins, as covered in the electrical section below. If the panel is already near capacity, an upgrade adds further cost on top of that. This line item should be assessed and quoted in writing before any work begins.
All-in, a single-zone garage mini split installation in Phoenix can range from around $2,500 to $5,500 or more, depending on electrical complexity and unit tier. Electrical upgrades are the primary driver of the high end of that range. A home with existing electrical capacity and a nearby panel lands near the low end; a home needing new circuits or a panel upgrade moves toward the top.
On the efficiency side, premium brands cost more upfront but meaningfully less to operate. In Phoenix, where a garage mini split runs six to eight months a year, a higher SEER2 rating pays back faster than it would in a milder climate. For a detailed look at how equipment costs compare across brands and efficiency tiers, see What Does a Mini Split Cost in Phoenix in 2026?
The Electrical Reality Check: What Most Homeowners Do Not Expect
The cost breakdown above captures the wide range that electrical complexity creates. Here is why that line item deserves its own conversation before you agree to anything.
Every mini split requires a dedicated 240V circuit. It cannot share wiring with your garage lights, existing outlets, or any other appliance. That is not a preference; it is a code requirement.
Many older Phoenix garages were wired with only one or two 120V circuits, enough for lights and a shop vac, but nothing close to what a mini split demands. If your garage falls into that category, a new circuit must be run before installation can proceed.
What the new circuit costs depends on distance and access. An attached garage with the main electrical panel nearby is a straightforward job. A detached garage is a different story. The conduit often has to be trenched underground from the house to the garage, which adds excavation labor and materials and can push that number significantly higher.
There is a second variable that catches homeowners off guard: panel capacity. If your main electrical panel is already running near its limit, adding a 240V circuit may not be possible without upgrading the panel itself. As noted in the cost section above, that upgrade adds meaningfully to the total project budget. A reputable contractor will identify this during an in-home assessment, not after the crew has already shown up.
To protect yourself, ask every contractor for a written scope of work that explicitly addresses the electrical component and states clearly whether it is included in the quoted price or billed separately. Vague quotes that lump everything together make it impossible to compare bids accurately.
Finally, in Arizona, this type of electrical work must be performed by a licensed contractor and will be subject to permit inspection. Unlicensed electrical work is not just a safety risk; it creates legal exposure and can complicate a future home sale. For a full picture of what a compliant installation involves, the Mini Split Air Conditioners: A Phoenix Homeowner's Complete Guide is worth reviewing before your first contractor call.
Where to Put the Indoor Head and Outdoor Condenser in a Garage
Once the electrical scope is settled, the next decision that directly affects system performance is placement, and in a Phoenix garage, placement mistakes are costly.
Indoor air handler position
Mount the indoor head high on the wall opposite your main work area or vehicle bay, centered left-to-right. That position lets conditioned air travel the full length of the floor before it warms and returns. Avoid three specific locations:
Above the garage door opener track. Vibration and the constant movement of the mechanism create problems for a wall-mounted unit.
Above a workbench. Sawdust, grinding debris, and oil mist pulled directly into the filter will shorten service intervals and damage the coil faster than almost anything else.
On an exterior wall with heavy western sun exposure. Heat radiating through that wall surface raises the temperature around the unit and reduces its efficiency at the worst possible time of day.
Outdoor condenser position
This is where Phoenix's climate creates a constraint you will not find in most general installation guides. Phoenix summer temperatures can exceed 115°F. A condenser working against that heat load on a south- or west-facing wall runs harder, delivers less capacity, and puts stress on the compressor that accumulates over time. A blocked or damaged outdoor condenser unit struggling in excessive heat is one of the most common causes of premature system failure.
North- or east-facing placement is strongly preferred. If your lot layout leaves no good option, a professionally designed shade structure over the condenser, with adequate clearance for airflow on all sides, can meaningfully reduce ambient temperature at the unit.
Refrigerant line set routing
The line set connecting the two units passes through the wall via a sleeved penetration. In Arizona, that penetration must be sealed thoroughly. Roof rats, scorpions, and other desert pests actively exploit unsealed wall openings, and a compromised sleeve creates ongoing problems.
Keep the line set as short as physically possible. Every manufacturer specifies a maximum line set length; exceeding it degrades efficiency and can void the warranty.
Permits and Inspections: What Phoenix Homeowners Need to Know
Once placement decisions are locked in, permitting is the next step, and it is not optional.
A mechanical permit is required for mini split installations throughout the Phoenix metro area, including the City of Phoenix, Scottsdale, Mesa, Chandler, Gilbert, and Tempe. Every one of those municipalities runs its own permit portal, but all of them require one.
Skipping the permit is a genuine risk, not just a formality. Many manufacturers require permitted installation to honor warranty terms -- check your equipment documentation for the specific requirement. If an electrical fault from an uninspected installation causes a fire or injury, homeowners carry the liability. And when you eventually sell, an unpermitted system will surface during the buyer's home inspection, which means negotiating a price reduction or scrambling to retroactively permit work that may need to be partially redone.
The permitting process is straightforward. Your contractor submits the equipment specifications and a basic installation plan to the applicable city, pays the permit fee, and schedules a post-installation inspection. Permit fees in the Phoenix metro area typically fall between $150 and $400 for a single-zone residential installation, consistent with the moderate fee structure Arizona municipalities generally maintain. For more on how Phoenix-area permit timelines can shift during peak season, see Permits, Timelines, and the Phoenix Summer Backlog.
Approval for a straightforward single-zone installation typically takes anywhere from a few business days to a couple of weeks, depending on the municipality and current permit volume. Summers slow things down, so plan accordingly.
At the final inspection, the city inspector will verify that the indoor unit is properly mounted, the refrigerant line set is correctly sized and routed, electrical connections meet code, and the system operates correctly before signing off.
A licensed HVAC contractor handles the permit application as part of the job scope. Before work begins, ask your contractor for the permit number. Before they leave, confirm the inspection has been scheduled. Both are reasonable requests, and any reputable contractor will comply without hesitation.
Mini Split vs. Window Unit vs. Portable AC for a Phoenix Garage: A Straight Answer
With permits covered, the question most homeowners still want answered is simpler: do you actually need a mini split, or will something cheaper work?
Window AC units are essentially off the table for most Phoenix garages. They require an appropriately sized opening, and most garages have no window at all, or only a small one. Cutting a new opening into a garage wall raises structural and security concerns that most homeowners prefer to avoid.
Portable AC units are the default DIY attempt, and they fall short in predictable ways. They draw warm room air in, cool a portion of it, and exhaust heat back through a vent hose, which means they are fighting themselves continuously. As discussed in the sizing section above, a Phoenix garage imposes a heat load that most portable units simply cannot meet, and performance suffers significantly as outdoor temperatures climb. In a garage that can reach 150°F at peak, a portable unit is unlikely to hold a comfortable temperature during the middle of the day.
A single-zone ductless mini split costs more upfront than either alternative, but it is the only option that reliably holds a set temperature through a full Phoenix summer day. Mini splits also carry significantly higher efficiency ratings than portable units, which matters when the system runs six months out of the year. Lower operating costs over a full Phoenix cooling season frequently offset a meaningful portion of the upfront price difference. For a broader look at how mini splits compare to other system types, comparing HVAC system types for Phoenix homes is a useful reference.
The honest exception: if you use the garage only occasionally and need a short-term stopgap, a high-BTU portable unit is a reasonable temporary measure. For anyone who works, exercises, or spends regular time in the space, the mini split case is straightforward.
What the Installation Process Looks Like From Start to Finish
Once you have decided a mini split is the right solution, here is exactly what happens between your first call and the moment you feel cold air in your garage.
Step 1: In-Home Assessment A qualified contractor visits the garage to measure the space, evaluate insulation, check the condition of the garage door, identify preferred locations for the indoor head and outdoor condenser, and assess your existing electrical capacity. This visit produces a written quote. Do not accept a phone quote for a garage install; too many variables require eyes on the space.
Step 2: Equipment Selection Based on the actual heat load assessment, the contractor recommends a correctly sized unit. As covered in the sizing section above, Phoenix garages routinely require more capacity than a generic square footage chart would suggest.
Step 3: Permit Pull The contractor submits the permit application to your municipality. No physical work begins until a permit number is issued -- as noted in the permits section, a contractor who skips this step is a disqualifying red flag.
Step 4: Electrical Prep If your garage does not already have a dedicated 240V circuit, that work happens before the HVAC installation. Depending on the contractor's license, they may handle this directly or coordinate with a licensed electrician. Either way, the circuit must be in place and inspected before the mini split goes in.
Step 5: Physical Installation The indoor head is mounted on the wall, the outdoor condenser is set and secured on a pad or bracket, the refrigerant line set is routed through a sleeved wall penetration, and all electrical connections are made and tested. The penetration is sealed thoroughly against the pest pressure common in Arizona desert environments, as described in the placement section above.
Step 6: Commissioning and Inspection The system is charged to the manufacturer's refrigerant specification, tested across its full operating range, and then inspected by the city. The permit closes only after the inspector signs off.
Most standard single-zone garage installations complete in a single day, though this depends on how much electrical prep the job requires.
Maintaining a Mini Split in a Garage: What the Dust and Grime Demand
Once your system is installed and running, the work is not over. A garage mini split faces a maintenance environment that is genuinely harsher than anything inside your home.
Filter cleaning is the most important routine task, and the garage demands more of it. Dust, sawdust, oil mist, and airborne grit from tools and vehicles load up filters far faster than a bedroom or living room ever would. In a frequently used garage, check the indoor unit's filters monthly and clean them as needed -- heavy use periods will likely require more frequent attention than a typical indoor room. Most filters rinse clean with water and take minutes to dry.
Neglecting this has direct consequences. A clogged filter restricts airflow through the indoor coil. In Phoenix, where the system is already fighting extreme ambient heat, reduced airflow forces the compressor to work harder than it was designed to. The result is higher electricity bills and accelerated wear on the most expensive component in the system.
Annual professional service is not optional for a garage-installed unit. A qualified technician will clean the evaporator and condenser coils, verify refrigerant levels, inspect electrical connections, and clear the condensate drain line. Each of those tasks matters more in a garage than in a standard room, because the environment introduces contamination faster on every front.
The outdoor condenser deserves its own attention in Phoenix. Intense UV exposure, daily heat cycling from extreme temperatures, and monsoon-season debris can all degrade fins and refrigerant connections over time. A seasonal visual inspection, plus a professional check once a year, catches problems before they become failures.
The warranty issue is worth taking seriously. Many manufacturers recommend or require annual professional service to maintain warranty coverage -- confirm the terms for your specific equipment. Skipping a service call to save a few hundred dollars is a poor trade on equipment that costs thousands to replace.
Ready to Cool Your Garage? Here Is What to Do Next
Once maintenance is scheduled and your system is set up for the long haul, the next step is getting the project started the right way.
As covered in the electrical section above, checking your garage's existing circuit situation before the first contractor call helps you get accurate quotes from the start -- knowing whether you need a new 240V circuit, and how far the panel sits from the garage, is the single most useful piece of information you can have ready.
When you request quotes, ask for itemized breakdowns. Equipment, labor, permit fees, and electrical work should each appear as separate line items. A single lump-sum number makes it impossible to compare bids fairly or understand where the cost is actually coming from.
A contractor who pulls permits, performs a load calculation before recommending unit size, and has specific experience with Phoenix garage installations is the right contractor for this job. The installation process section above explains exactly what to expect from each of those steps.
Gray Goat Air serves the Phoenix metro area and provides in-home assessments for garage mini split installations, covering sizing, placement, and electrical requirements before you commit to anything.
The upfront cost of a properly sized, permitted, and installed single-zone mini split is real. So is the return. A garage that sits unusable from April through October is not a storage space, it is lost time. The right installation fixes that permanently.
Conclusion
Cooling a Phoenix garage is not a small project, but it is a solvable one. The key takeaways are straightforward: size the unit for Phoenix heat loads, not just square footage; budget honestly for electrical upgrades; hire a contractor who pulls permits and does load calculations; and treat proper placement as seriously as equipment selection.
A quality mini split installation transforms a space that spends half the year locked away from the summer heat into somewhere you can actually use. Workshop, gym, home office, or hobby space, the function follows the cooling.
If you are ready to move forward, start by checking your panel and measuring your garage. Then contact Gray Goat Air for an in-home assessment. Get the details right from the beginning, and your garage becomes one of the most valuable spaces on your property.